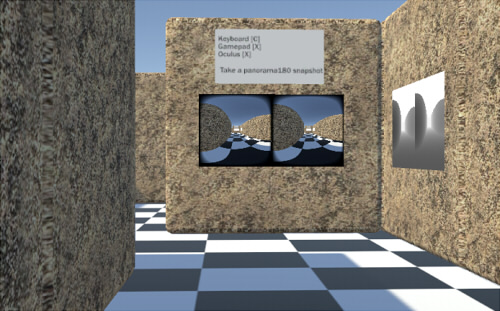
Use [A][S][D][W] on the keyboard or sticks on the gamepad to move.
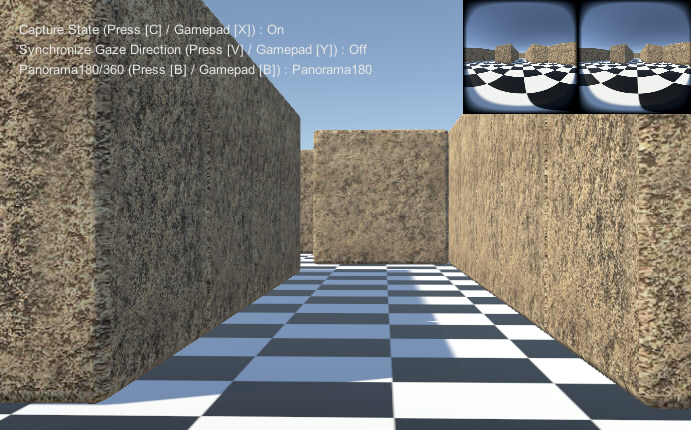
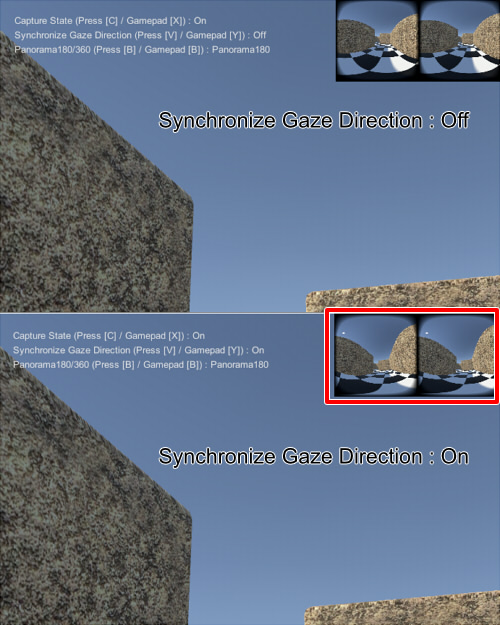
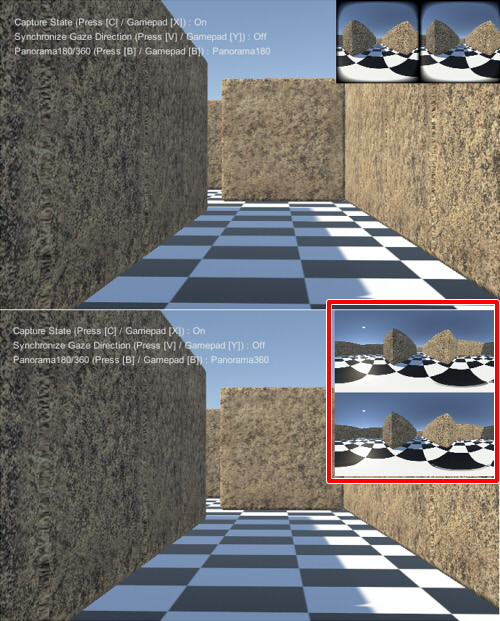
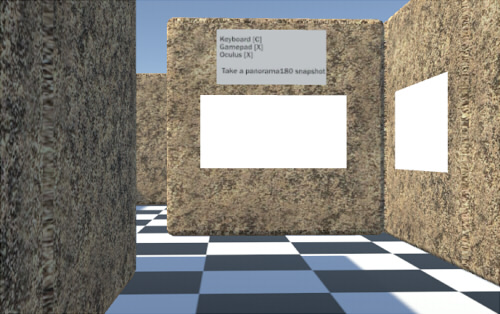
Press the [C] button on the keyboard or the [X] button on the gamepad to display the Panorama 180-3D capture.
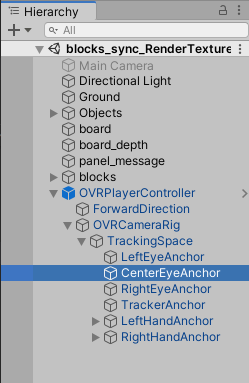
For VR, press the [X] button on the Oculus Quest to display a Panorama 180-3D capture.
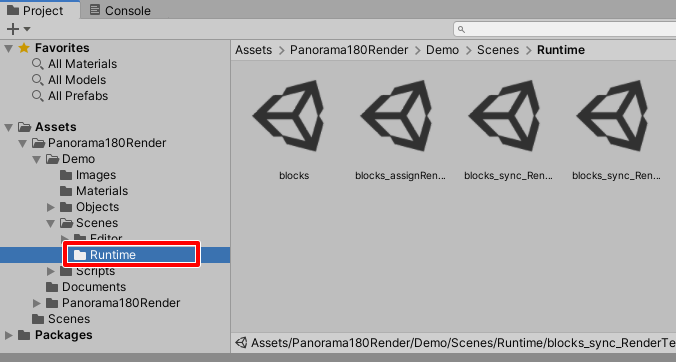
Assign the script "Panorama180Render/Demo/Scripts/Runtime/Sample_CaptureSyncRenderTexture.cs" to any GameObject.
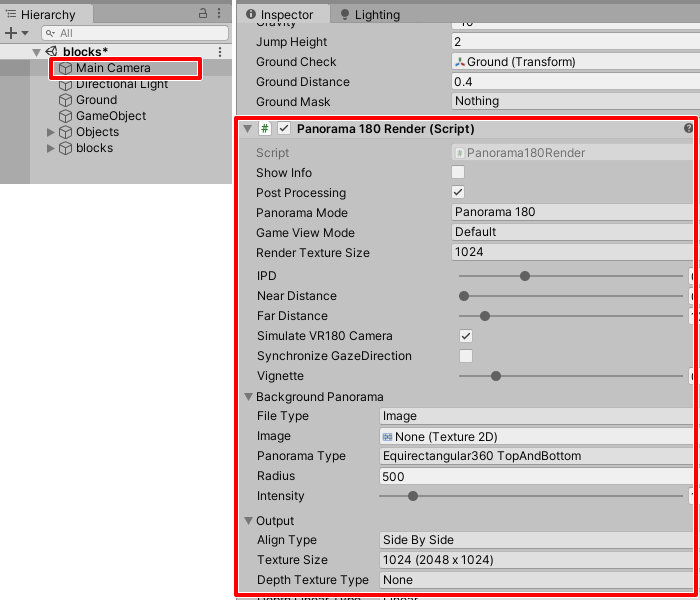
From the component, add [Scripts]-[Panorama180RenderSample]-[Sample_CaptureSyncRenderTexture].
Specifies to get the Depth texture in Start().
// Set depth texture type.
m_panorama180Render.SetDepthTextureType(Panorama180Render.OutputDepthTextureType.DepthDefault);

// Set depth texture linear.
m_panorama180Render.SetDepthLinearType(Panorama180Render.OutputDepthLinearType.Linear);
In addition, the depth range of Depth is narrowed to make the shading of Depth explicit.
m_panorama180Render.SetCameraNearFarDistance(0.1f, 10.0f);
The distance to the Near clip is set to 0.1 and the distance to the Far clip is set to 10.0.
This sample does not call "Panorama180Render.BeginCapture()".
After this, a coroutine is used to get the panoramic expanded RenderTexture one time while keeping synchronization.
Coroutines are described as follows.
IEnumerator GetPanoramaRenderTextureCo () {
  if (m_panorama180Render == null) yield return null;

  // Call coroutine.
  var fc = m_panorama180Render.GetRenderTextureCo();
  var curCoroutine = StartCoroutine(fc);

  // Wait coroutine.
  yield return curCoroutine;

  // Get RenderTexture.
  // The RenderTexture that can be obtained is temporary.
  Panorama180Render.PanoramaTextureData rt = (Panorama180Render.PanoramaTextureData)fc.Current;

  // Assign RenderTexture to Material.
  if (rt != null) {
    if (m_mat != null && rt.colorTexture != null) {
      if (m_mat.mainTexture == null) {
        // In the case of HDRP before Unity 2018,
        // even if RenderTexture is added to the mainTexture of Material, it will not be reflected.
        // Therefore, the texture is forcibly specified.
#if !UNITY_2019_OR_NEWER
        m_mat.SetTexture("_UnlitColorMap", rt.colorTexture);  // HDRP/Unlit
        m_mat.SetTexture("_BaseColorMap", rt.colorTexture);  // HDRP/Lit
#endif
        m_mat.mainTexture = rt.colorTexture;
      }
    }
    if (m_depthMat != null && rt.depthTexture != null) {
      if (m_depthMat.mainTexture == null) {
#if !UNITY_2019_OR_NEWER
        m_depthMat.SetTexture("_UnlitColorMap", rt.depthTexture);  // HDRP/Unlit
        m_depthMat.SetTexture("_BaseColorMap", rt.depthTexture);  // HDRP/Lit
#endif
        m_depthMat.mainTexture = rt.depthTexture;
      }
    }
  }
}
This coroutine retrieves the panoramic expanded color and depth textures from the Panorama180 Render and reflects them as textures for the specified material.
At this point, wait for the cameras to capture and generate a panoramic image for panorama expansion.
After the panoramic image is generated, hide the cameras for capture and stop the capture process.
If the Panorama180 Render fails to get the component, it will exit the coroutine without doing anything.
if (m_panorama180Render == null) yield return null;
"Panorama180Render.GetRenderTextureCo()" is the coroutine that performs a single capture.
"StartCoroutine(fc)" calls the coroutine.
  var fc = m_panorama180Render.GetRenderTextureCo();
  var curCoroutine = StartCoroutine(fc);
Wait for the end of the coroutine by specifying "yield return curCoroutine;".
Since panoramic image are generated from captures from multiple cameras, this process may take several frames.
yield return curCoroutine;
The following process returns the resulting RenderTexture in the "Panorama180Render.PanoramaTextureData" structure.
Panorama180Render.PanoramaTextureData rt = (Panorama180Render.PanoramaTextureData)fc.Current;
"rt.colorTexture" is the color texture, and "rt.depthTexture" is the depth texture.
Both are RenderTexture.
If the RenderTexture does not exist, null will be entered.
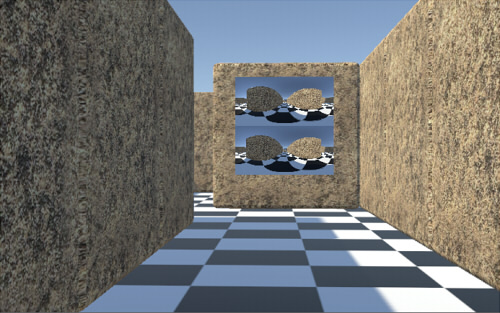
This is specified as a texture for each material, and the result is reflected in the Mesh on the scene.
The "GetPanoramaRenderTextureCo" coroutine described above is called as follows when the specified button is pressed.
StartCoroutine(GetPanoramaRenderTextureCo());
This call does not wait on the main thread. Be aware that the resulting RenderTexture is returned asynchronously.
I have also confirmed that it works with PC-VR.
I have also confirmed that it works natively running on Oculus Quest2.
However, specifying the texture size in "Panorama180Render.SetRenderTextureSize()",
"Panorama180Render.SetOutputTextureSizeType()", and "Panorama180Render.SetOutputTextureSizeType360()"
can be time-consuming if the resolution is increased too much.
When under load, VR will stop for a moment, during which time you will see the camera shake.